
If you gather walnut husks in autumn, you can make your own walnut ink for sketching or calligraphy. This ink has a beautiful sepia-brown color and you can get very fine lines with it. In this post, I’ll show you a recipe for self-made walnut ink.
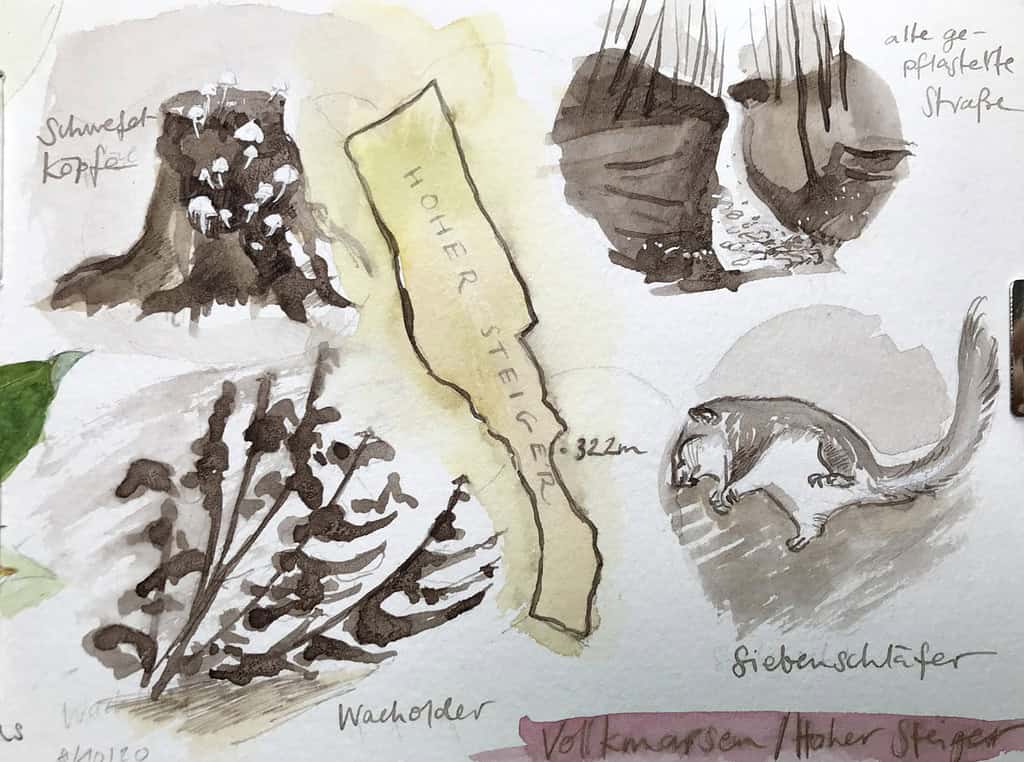
I have a rest of walnut ink that I made a few years ago. It has darkened a bit over time, but it’s still nice to draw with. The ink once had a beautiful golden-brown color, and now has darkened to a hue that’s almost sepia. I assume walnut ink doesn’t have the best archival qualities – usually self-made inks have tannins that will make the paper brittle after a few years. I still have some old drawings and documents that I wrote with my walnut ink in 2015 – so far they still seem fine.
For the ink, you’ll need an actual walnut tree with walnuts hanging on it – I used the nuts of the European Common Walnut (Juglans regia). I’ve heard from readers that other types of walnuts (North American Black Walnut – Juglans nigra) will work, too. You’ll find these in October. For making the ink you need the green husks, not the light brown hard shells around the nut itself. If the green husks have turned brown or black already, even better. Be sure to use gloves – that stuff is already showing its staining capabilities.
Preparation and Materials
First you should separate the green husks from the nuts. Use gloves to protect your fingers. Crack and eat the nuts. 😉 Soak the husks in water for at least 24 hours, this will result in a better color. I tried it without that phase, the color didn’t turn out as intense.
You’ll also need:
- A pot
- a sieve
- A fine mesh or cloth (a fine laundry mesh bag or an old t-shirt)
- small glass containers for the ink
- alcohol or vinegar (any cheap alcohol with at least 40% will work – vodka from the store or ethanol, rubbing alcohol, etc.)
- gloves
How to make the ink
- Put the soaked nuts with the water (just enough to cover them) into a pot and simmer them for at least half an hour. The longer you let them sit and the more husks are in the pot, the more intense the color will be.
- Filter the liquid through a fine mesh or cloth: put a sieve over a second pot, put the fine mesh into it, and pour the liquid through. There shouldn’t be any solid parts left in the liquid.
- Be sure to squeeze all the liquid from the husks, and wear gloves for that – the ink will dye your hands, too.
- If you want to make the color darker, let the liquid simmer again until you have reached the desired result. You can make a test writing with the ink from time to time on a piece of paper. The ink will be slightly darker when it’s dry.
- To prevent the ink from mold, add approx. 10 to 20% rubbing alcohol or vinegar to the ink. I don’t like the smell of vinegar when I’m drawing, so I use rubbing alcohol.
And that’s it.
The color has a beautiful cool brown tone, light or dark depending on the amount of water added. You can draw very fine lines with this ink – it will be a bit scratchy with most nibs. I wouldn’t put it in fountain pens, since there can be sediment in selfmade inks, or substances that corrode the pen material, but I’d say it’s safe to use the ink in refillable brush pens, and definitely with dip nibs.
I also have a recipe for pomegranate ink somewhere that I can dig out again if you’re ready for more alchemy with art supplies.


Thank you Julia,
I have walnut trees in my garden and this is a great recipe. Unfortunately there aren’t too many walnuts this year and what few there were, the squirrels were faster . Last year I made some ink from ink caps (Tintlinge) and am interested in any more recipes you might have.
Grüße aus der Wedemark
Audrey
Man kann Tinte aus Schopftintlingen herstellen? You have to tell me more about that! 🙂
I just put the pot on the stove. : ) My friend collected walnuts and brought me a 5-l-bucket of husks… I soaked them for 36h right now and the water already has a nice colour.
We also found some Schopftintlinge and just let them sit in a sieve with a bowl under it.
We already got some really dark black ink. Haven’t tried it on paper yet, though. I’m gonne get some alcohol and gummi arabicum and maybe clove oil and see how the ink behaves.
Oh, I was wondering, if you let the husks simmer with or without a lid on the pot?
I think I left it open so that a bit more water can evaporate? But honestly I can’t remember. I think it’ll work either way!
This sounds like you’ll get a lot of walnut ink!! 🙂 I was sent this recipe for mushroom ink: https://www.instructables.com/Make-Ink-From-Decaying-Mushrooms/
Let me know how it turns out – and if the smell is ok. I know rotting mushrooms can smell a bit funny.
I made the ink. I didn’t boil the walnuts .I just let them sit. It was a different subject to explore. Thanks
Ah, really interesting. I wonder if the ink turns out differently when you don’t boil the liquid.
I’m about to try the walnut ink now…but would love to get your directions for the pomegranate ink as well if you’re still willing to share!
Here’s the recipe: https://juliabausenhardt.com/how-to-make-pomegranate-ink-self-made-iron-gall-ink/
Enjoy!
can you use black walnut husk powder to make this ?
I think you can. The outer, soft husks should be what contains the parts that turn black. If you give it a try, let us know!
Hi Julia – I made the walnut ink using your method of soaking the husks overnight (mine were mostly dried) and I think that made a difference! I also had made an iron solution which took a couple of weeks and added a tsp. or so after I boiled the husks for about 30 min. to help darken the ink. I am so enamored with the deep brown of the walnut ink – it’s almost chocolate-y! I wrote a blog post and shared photos of the process and my test paintings if you want to take a look – I think my blog address is saved in my credentials. Thanks so much for sharing your post about how to make the ink!
Your ink looks really lovely, Karen, what a wonderful warm color! Great you tried out the recipe and thanks for sharing. <3
This was a great recipe but I added way to much alcohol and it makes it almost unusable. Can I reduce it down again or is it a lost cause?
Oh my, that sounds like the sort of thing I do when I’m cooking. 😉 I guess if you heat it the alcohol will be reduced and the ink might work better again? Can’t hurt to try it out. Good luck and let us know how it went!
Yes burning off the alcohol worked and made for a really nice ink. I fund a good 1:40 mixture and even used less (only about 1tsp of alcohol to 24 oz of ink). Thanks again great stuff!
Sounds good!
Looks like your walnut ink is almost grey/black. How did you achieve that?Mine is definitely more dark brown sepia. Thanks!
I added a bit of iron (rusty nails) to darken it.