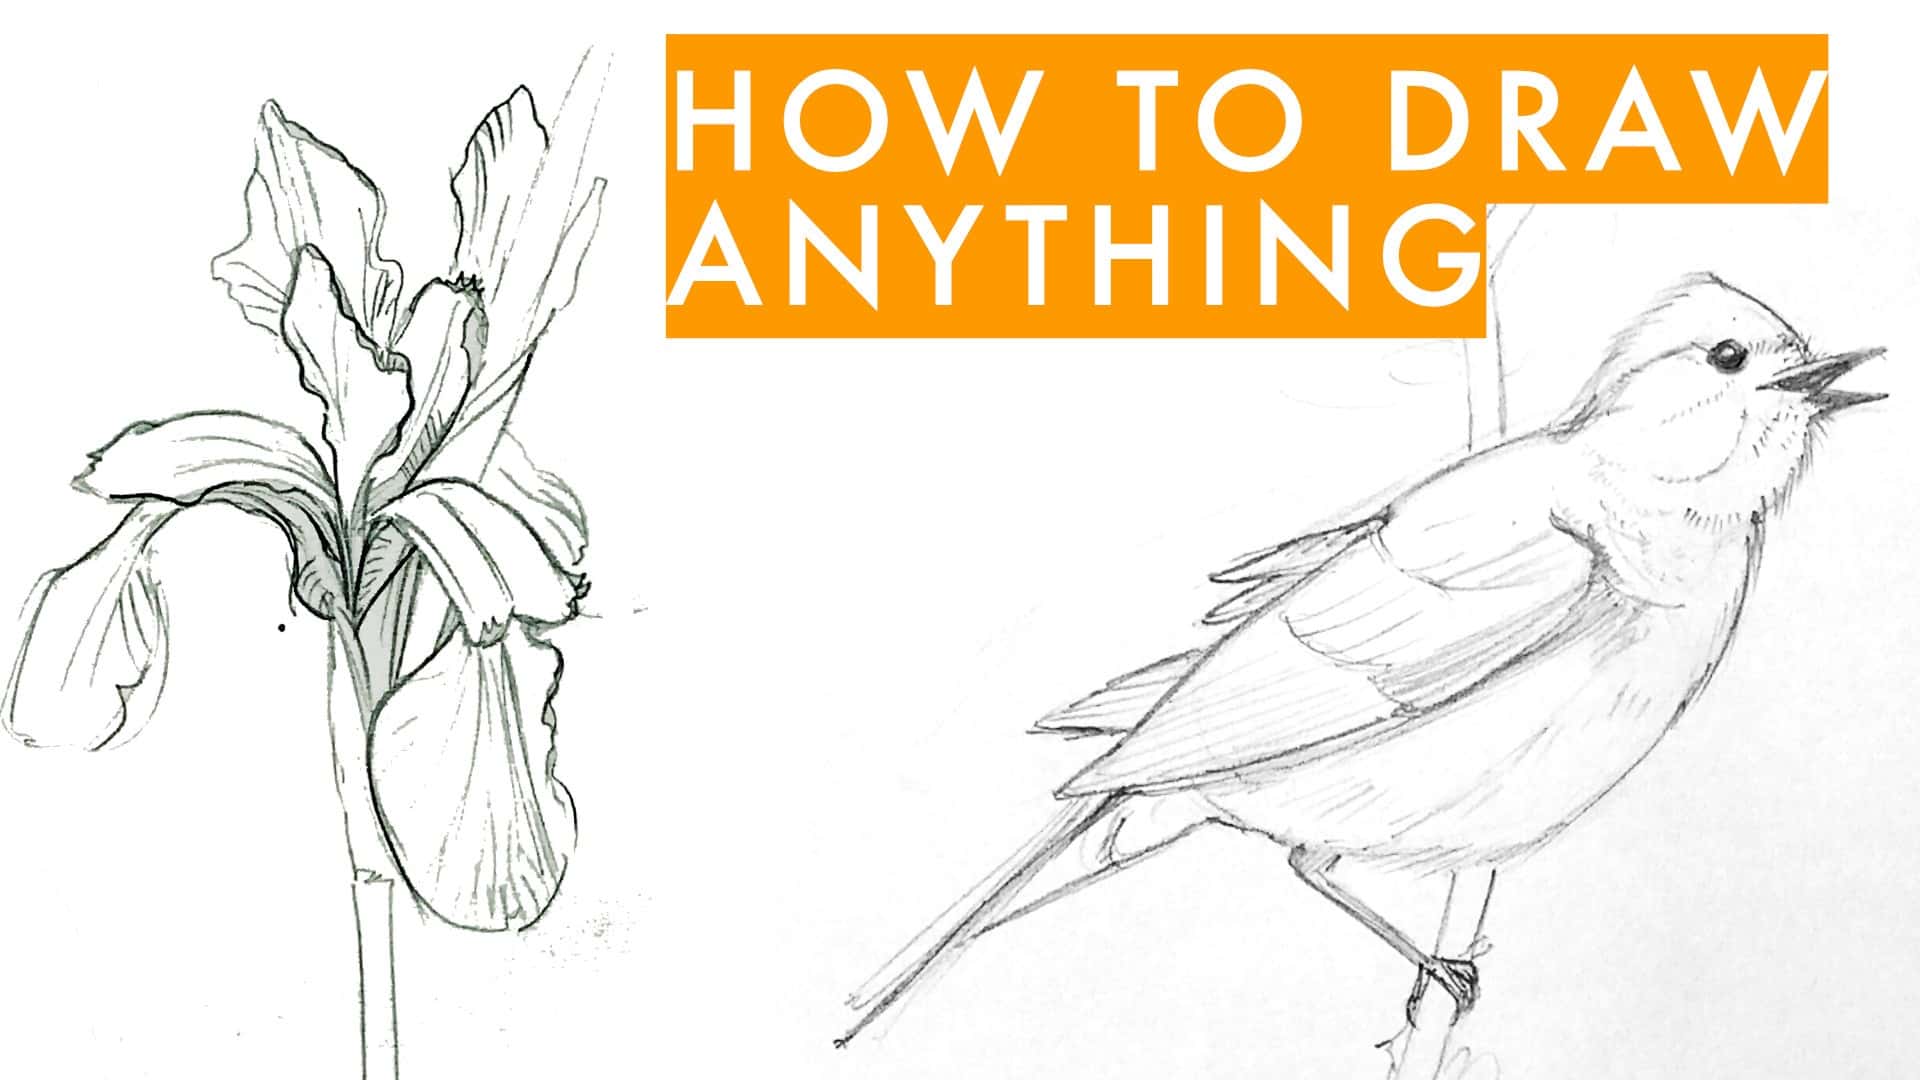
In this post I want to give you a simple guide on how you can learn to draw anything. You don’t need any special skills or talent for drawing and sketching when you start, it just takes a bit of practice and the desire to learn. For an extended free PDF guide on how to draw anything scroll to the bottom of this post (existing newsletter readers please check the email I sent)!
My approach to learning how to draw is that even if you have no idea how to do this, you can get really decent after a while if you learn the basic concepts techniques and if you practice regularly. So let’s take a look at these steps.
Here’s a video version of this post:
1 Warm up + practice hand-eye coordination
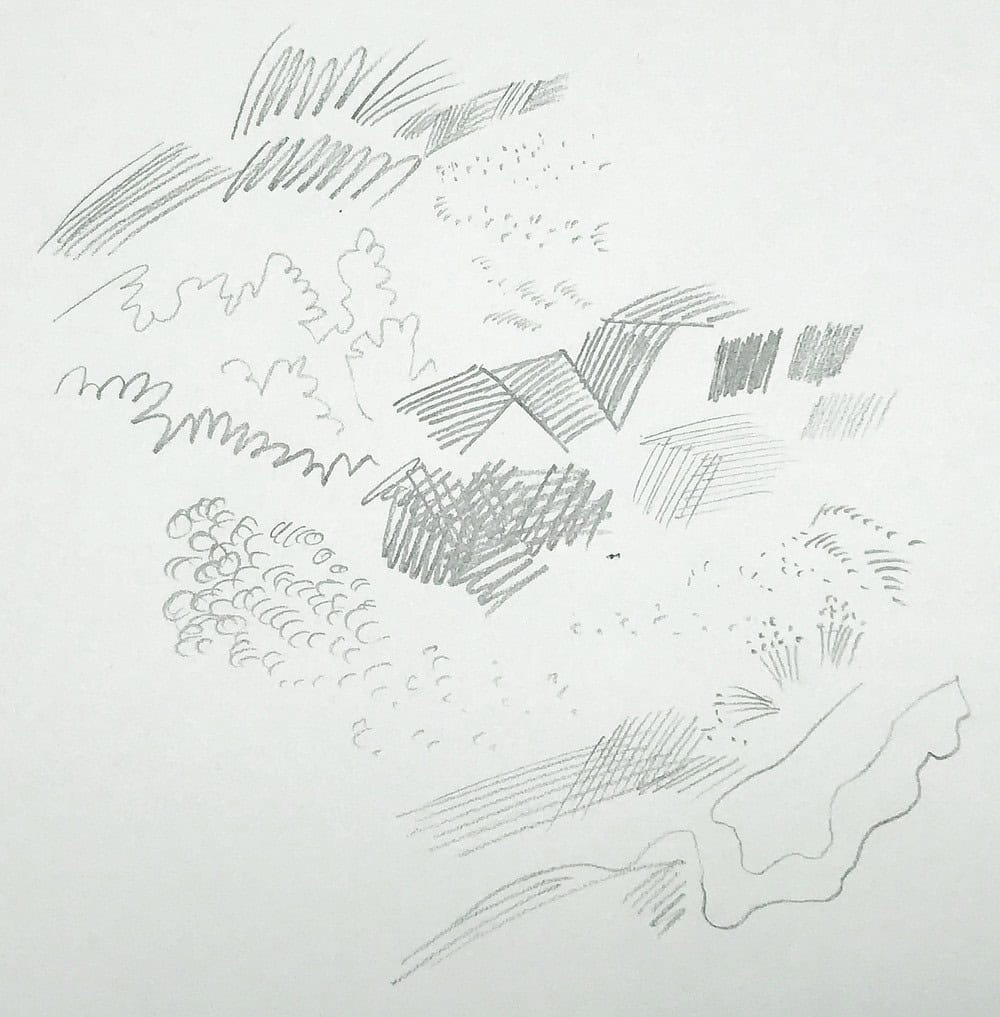
It‘s always a good idea to get warmed up a bit and get comfortable with your tools, and a warm up is also a great way to loosen your drawing muscles and bring your thoughts to the page. By playing with different mark-making techniques, you‘ll see what you can do with your pen.
So grab your pencil or pen and make different marks. Line work can be incredibly varied. Make scribbles, doodle around, create dots, stipples, hatching, zig zag lines – explore the range of your drawing tool. Also try varying pressure. Have fun with this – it‘s important to keep your practice enjoyable and playful, otherwise you will stop.
To take this exploration a step further, let‘s train your hand-eye coordination a bit. Take your pencil and practice drawing a few straight and curved lines, long ones and short ones. Don’t worry about doing this right or wrong, it’s just a warm up.
Then draw a few round shapes like circles and ellipses, and try out loose shapes like lying eights. Vary the size and also vary the pressure of your pen. See what changes if you draw with your entire arm, that means locking the elbow and wrist and making motions from the shoulder joint. What will give you the smoothest arks?
Fill a page with these explorations. Keep it fun and playful. If you feel bored, you don’t need to continue. But try to notice how your hand feels now, are you more comfortable with the pencil?
I find it helpful to do just a few of these warm ups at the start of a drawing session, it helps me to create smoother line work. And for beginning sketchers it can be helpful to loosen up and learn pencil control.

2 Start with basic shapes + light lines
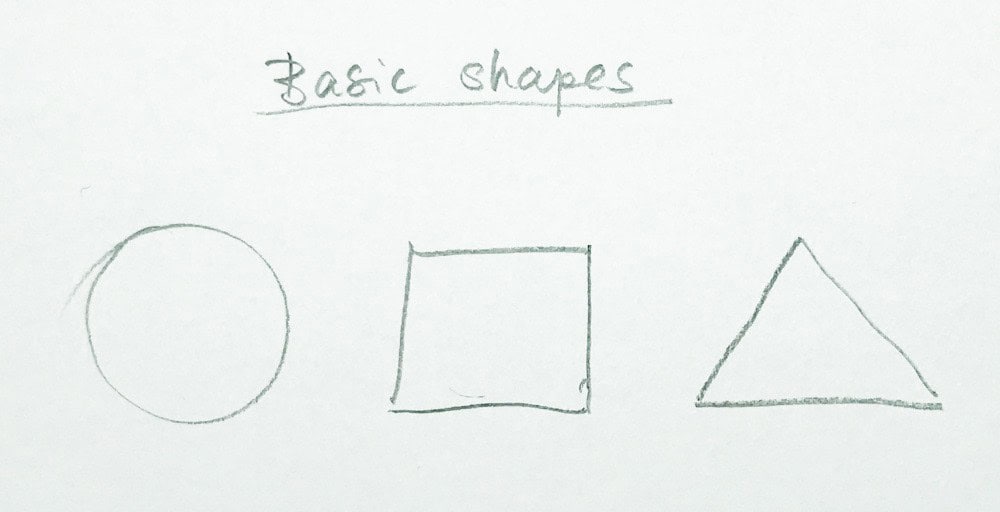
After our warm up, let’s start properly with drawing. Let‘s look at what is the basis for all drawing skills. Essentially, you can break down everything you want to draw into basic shapes. Basic shapes are circles (we already practiced those), rectangles and triangles. If you can draw these basic shapes, and I’m pretty sure you can do this, you can essentially draw anything.
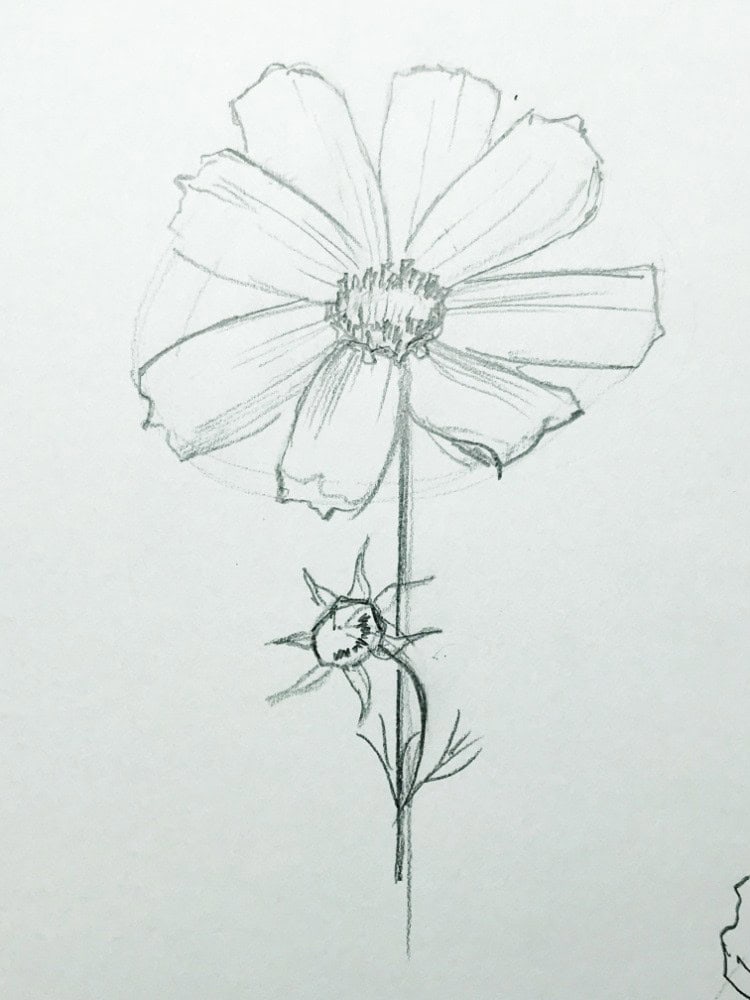
So how does this work? When you look at an object in real life, all you need to do is figure out how you can break it down visually into easier to manage basic shapes, and put those down on paper. So you might look at a rose, or a house or a bird, and figure out how to reduce them to basic shapes. It’s much easier to draw a circle with a line attached, and refine that, than to attempt to understand a complex flower in a split second.
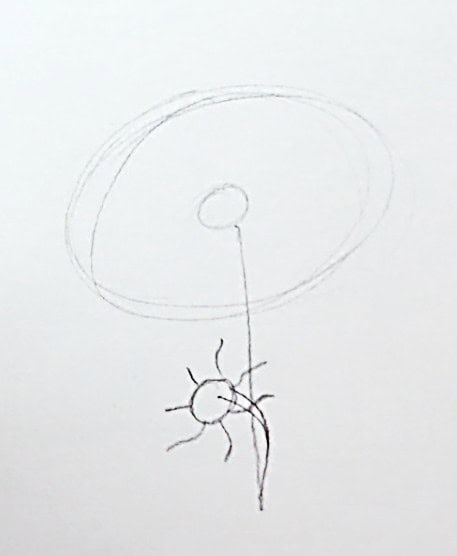
So you can use those basic shapes as a loose underdrawing. For this, we‘ll start with very light linework and rough shapes, that we can refine to a more specific structure and more defined shapes in a second step. But right now, it‘s all about getting the proportions right and produce a solid underdrawing that you can work with. you don‘t need to focus on perfect lines or shadows or details in this stage, that can all come later.
These gestural drawings are often very loose and spontaneous, they‘re great for warming up and getting down the essence on the paper.
3 Refine, check angles and edges, add solid lines, and volume to your drawing
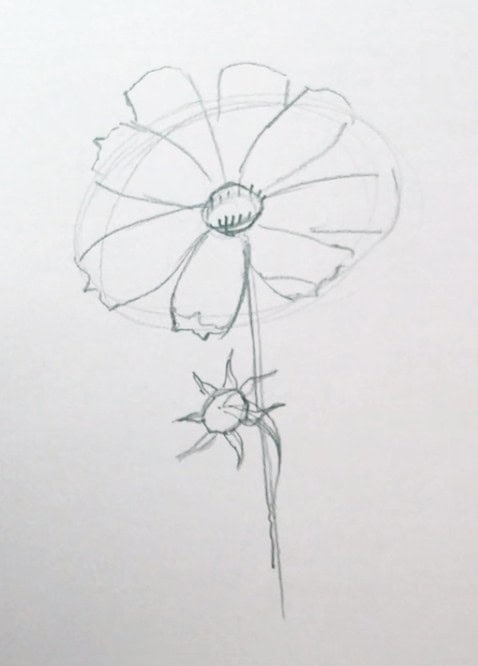
As a second step, you‘ll want to refine what you have drawn through a solid outline. Again, observing what you draw is much more important than actually placing the line. Drawing is as much as observing and learning to see, as it is about laying down lines.
Take your gesture drawing as a basis and check all the angles and edges against your subject. See where you need to make adjustments. Observe the angles, shapes and curves of your subject. Travel around the contour, and be mindful about the proportions you‘ve already explored. Are they true to what you’ve drawn? If not, make your corrections now.
Again, observe closely before you place your lines. Really notice what your subject looks like before you place your line. Draw what you see, and not what you think you see.
You can use your pencil as a measuring help. If you match an angle with your pencil, it’s much easier to translate it to the paper.
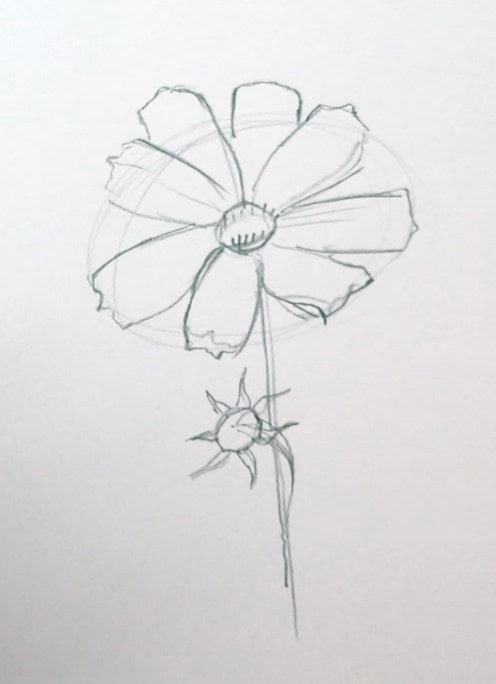
Often you will draw several loose lines in the first explorative stage, now is the time to decide on one contour line and define it with a solid line. Try to stay true to what you see in front of you.
4 do lots of loose quick sketches
Before we finish our drawing, let’s step back for a moment. You now have a loose underdrawing with basic shapes that’s been refined with a more solid contour and a few defining angles and edges. That’s not bad.
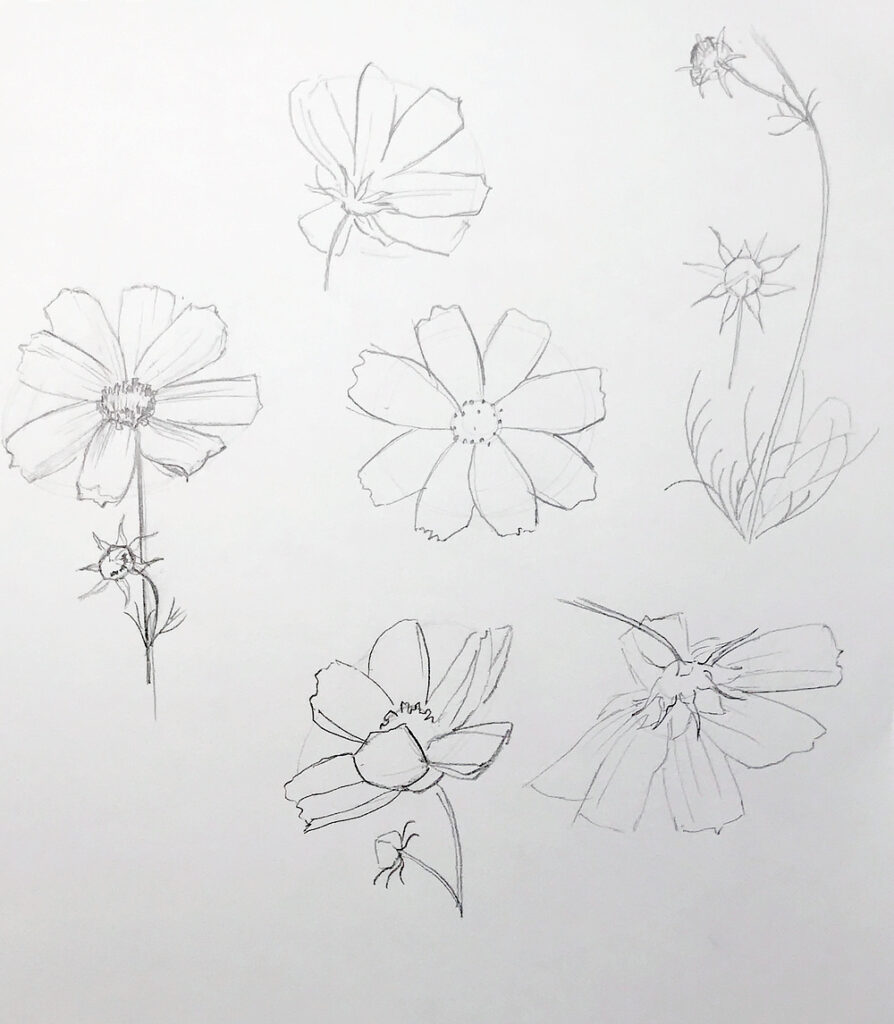
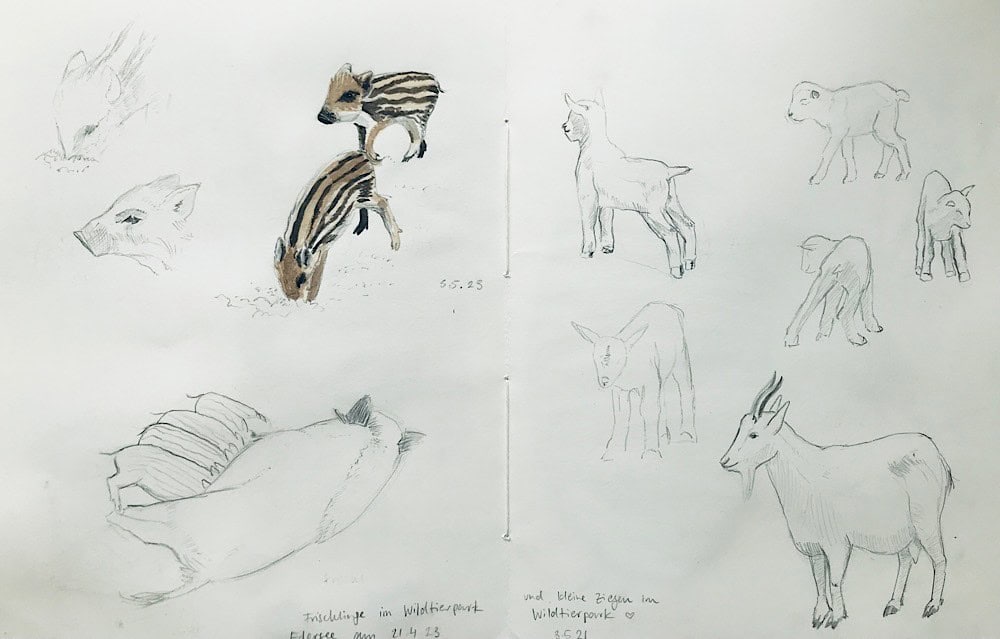
At this stage, it can be helpful to just produce a lot of quick drawings to practice what you‘ve learned.
Grab an object, and draw it with lots of quick gestural sketches from different angles.
Try to get your hand to a stage where it seems easy to see a line, and transfer it to the paper
You want this to become a fluid process. This will take a bit of time, but it’s important to become comfortable with hand-eye-coordination. You will want to create many quick drawings, not one perfect drawing at this stage. How do you practice this in the best way? I find shorter sessions over several days will give better results than one long session once a week.
These basics may seem very simple and mundane, but they’re really important for learning how to draw. Over time, these techniques will become second nature to you and you won‘t even think about them a lot.
5 Focus, contrast, details
Now, you want to know how you can finish your drawing, right?
At this point, you‘ll want to make your sketch a bit rounder, a bit more finished. Do not proceed to this step when your basic framework and the right proportions aren‘t in place, rather make another drawing or correct the one you have. It’s fine to simply start over.
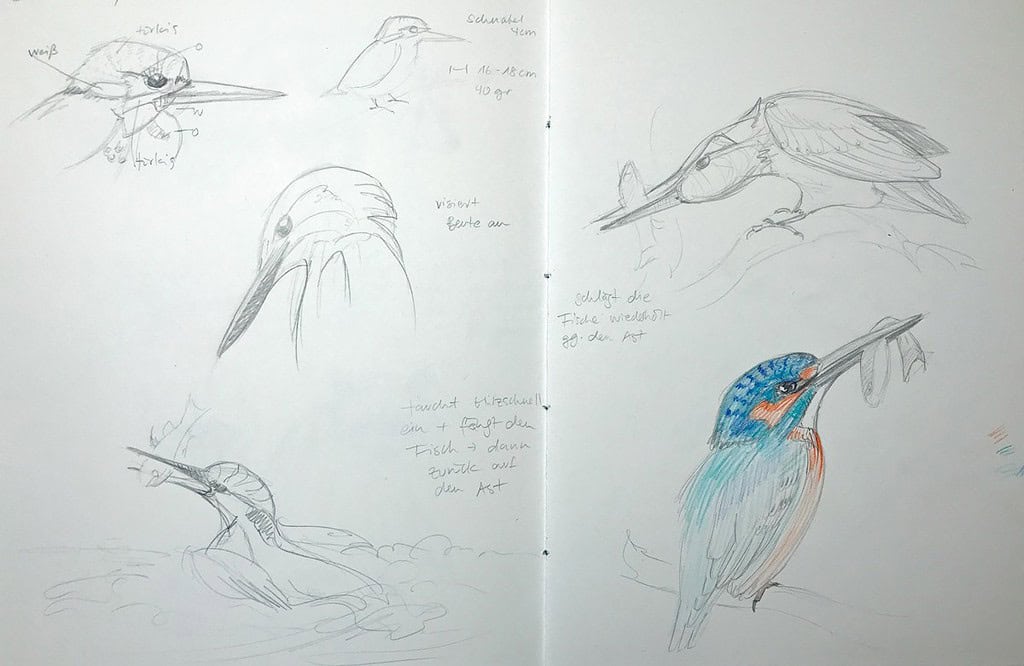
In this step, you can add contrast, light and dark areas, and a bit of detail, like textures in a few places.
All of these are techniques for themselves that can be practiced, in any case I’d like to caution not to overdo it with the details. You want to have just a few places with more details and textures, this is where you lead the viewer’s eye.
Think back to the mark-making exercise and remember the different marks and lines your pencil can produce. Dots, lines, hatching, broken up lines, varied lines. Try to think what kind of texture will be most fitting for your subject and add a bit of detail – sparingly, not all over.
As for contrast and shadows, the same concept applies. Add darker areas to show volume here and there, don‘t overwork your sketch. I know this is a lot of fun and hard to stop, but you only need a few accents in your drawing. For adding loose shadows, you can squint slightly to see the values a bit easier.
6 Practice over and over, learn from your mistakes
This is basically it, this is the process for drawing:
- start with basic shapes, light lines, find the right proportions
- refine lines, check angles, add solid outlines
- add detail and texture, shadows and highlights
That‘s all there is to it, just a few simple steps. The key to getting good at drawing is to practice these skills a lot, over time. You need to get in your pencil miles until this process becomes second nature to you. So practice a lot, and start building your habit by putting a note somewhere so you don’t forget about it.
Let me add a quick word about mistakes. Mistakes will happen, they‘re part of the process. Don‘t get too hung up about mistakes, they‘ll help you learn and make your next drawing better. I understand that we all want this to come easy, but the hand needs time to understand these concepts. You‘ll need to build muscle memory, and this means working through mistakes. So try not to feel frustrated about mistakes and trust the process. This is what it looked like for Leonardo to learn drawing, and this is what it looks like for the rest of us. So expect and try to embrace your mistakes, they‘re really no big deal and will help you along the way to become a better sketcher.
7 Deepen your knowledge and learn more advanced concepts
This post and the tips in it are a great start, and they will hopefully keep you busy practicing for a good while.
If you’re ready for more, there are many more advanced drawing techniques and understanding those will help you to really get good at it. Learning concepts like seeing in 3D volumes, perspective, values, light and shadow, and foreshortening will really advance your skills and help you to create fully rounded drawings.
If you want to understand and apply these concepts and get really well-rounded drawing skills, then take a look at my course „Sketching Fundamentals“.
This course is a foundational drawing class that will guide you step for step and teach you all the principles of drawing.
The course will teach you how to draw anything – with a focus on the natural world.
I offer the course as a guided version with direct feedback from me on your assignments several times a year (the next round is starting on September 25 2023!), or if you prefer learning on your own you can take the course in your own pace.
Learn more about the course here:
Sketching Fundamentals course
Want to get this post as a PDF guide?
As a reminder for your practice, I have a full PDF guide “How to draw anything” for you, just sign up for my blog newsletter and you will get the PDF and a bunch of other useful things.
Sign up to my newsletter below to receive your free PDF guide.


Inspiring!
I want to draw a teacher
thank you would love to learn how to draw some ones face
Brilliant effort