Today I want to give you a short breakdown of how to get started with sketching birds. I’ve already talked your ear off with reasons to start bird-watching and how to get started with birding, so sketching birds could be the next step!
Why sketch birds?
The short answer to this is: because it’s a lot of fun. If you’re already a birdwatcher, I don’t need to convince you of anything, because you’re probably already enjoying birds simply for what they are. Sketching birds can add enjoyment and increased knowledge to this wonderful pastime – sketching requires you to observe closely, and sketching will help you keep an active memory of what you saw in the field.
If you’re someone who just wants to make a beautiful bird watercolor painting, then you’ll probably end up in the first category soon – because the more you watch birds, the more you will get drawn into their daily activities, and observe details and just enjoy their bird-ness. Having a good understanding of birds will in turn help you to make better drawings of them.
If you’re an artist, birds can be one of the most rewarding and fascinating subjects there is. Sketching birds will bring you constant new discoveries, and it’s a great way to spend time with nature, science and art at the same time. Birds are also a great subject to practice wildlife drawing, since they’re fairly easy subjects, yet so diverse and challenging that you’ll be busy for a long time.
How do you get started with sketching birds?
Well, you start by watching birds. Starting observing birds, especially unfamiliar ones, before you start drawing them. Carry your sketchbook everywhere with you, and get familiar with the birds around you. You can draw birds you see every day, in the park, from your window, at a lake or seashore. Setting up a feeder or bird bath can help to attract birds to your garden, placing the latter near a tree will give you the opportunity to observe birds while they’re perching and reordering their feathers.
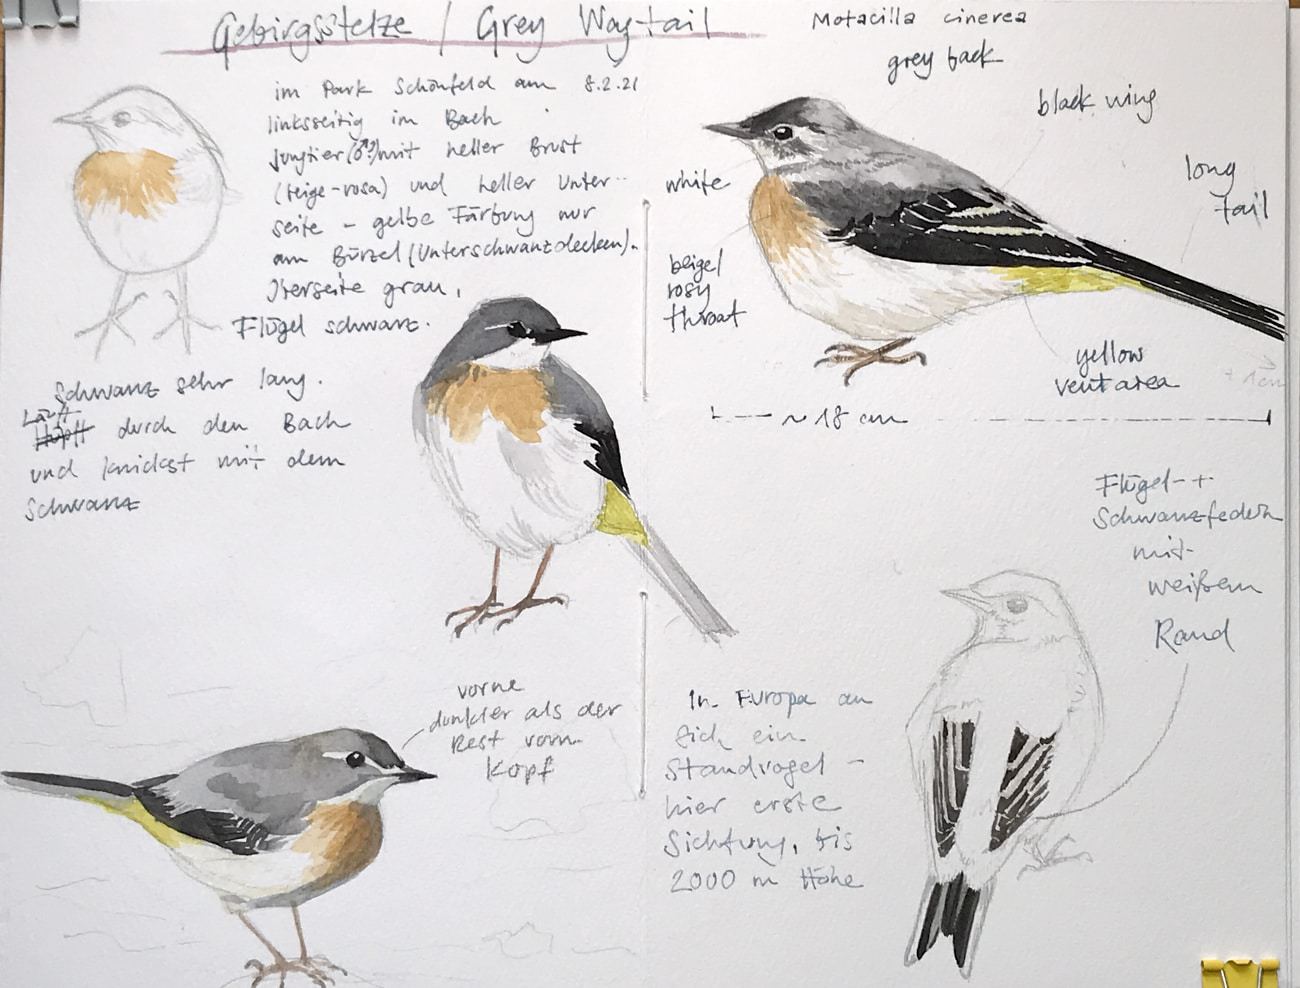
Materials + field sketches
As for materials, basically a pencil and a sketchbook (or even cartridge paper) will do, some artists like to bring watercolors for adding quick color, or ink for more permanent lines. I like to bring a small sketching kit everywhere if possible, but most often I use a simple mechanical pencil in the field. When doing quick gestural sketches, forget about your eraser. Observe closely, draw light lines first, and then make a bold statement – don’t try to fiddle around too much with your linework. There is a time and place for more considered drawings that take a lot of time, but field sketching benefits of good observation and decided mark-making. This is something that will improve quickly with practice.
A good strategy to warm yourself up to bird-sketching is to practice drawing from reference photos (preferably your own, or copyright-free photos), and to learn some basics about bird anatomy. You can only draw well what you understand, so it’s really helpful to know how a wing is built, how a bird will fold it when it’s perching, or how bird feet work.
Trying to draw moving subjects can be hard, but it can be learnt and will get easier over time. Some of the sketches I like best in my sketchbooks are those that contain an element of motion and spontaneity. You can practice drawing from life with videos or webcam footage, or simply jump in and sketch birds in the field.
Drawing birds – the step by step technique
As for the right drawing techniques, you go from basic shapes to more detail. A basic understanding of drawing is helpful.
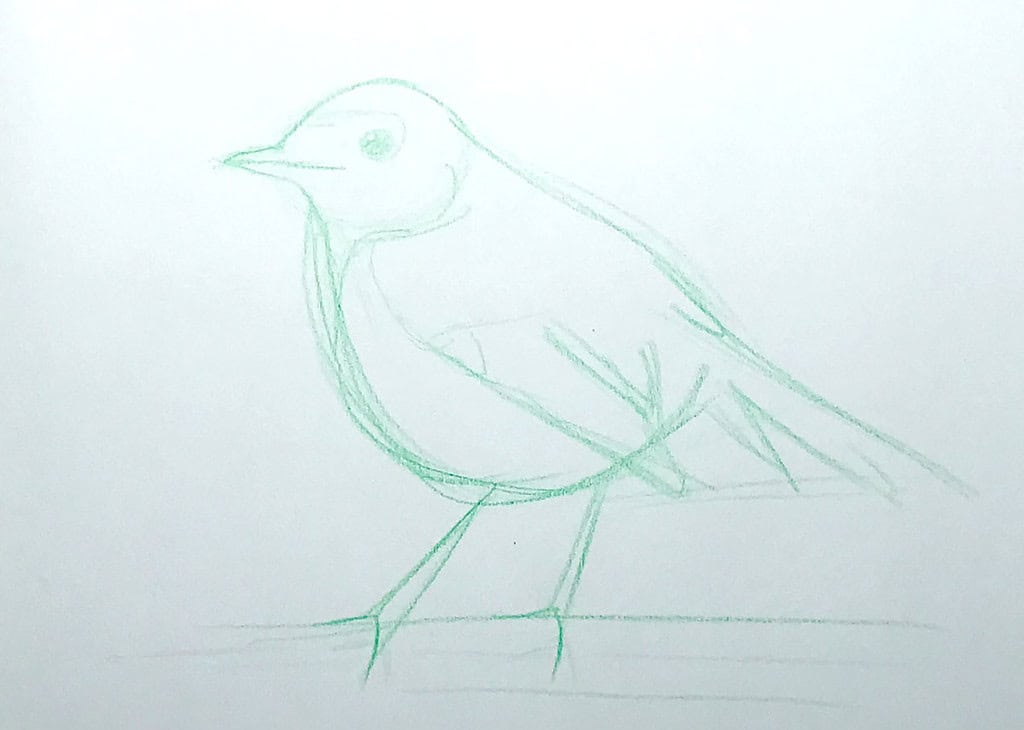
Basic bird shapes are essentially two round forms overlapping each other – one for the head and one for the body. Those first lines should be light – you will refine them later. It’s all about blocking in the basic shapes and proportions. You want to have a framework that you can build on. In this stage my sketches look like this:
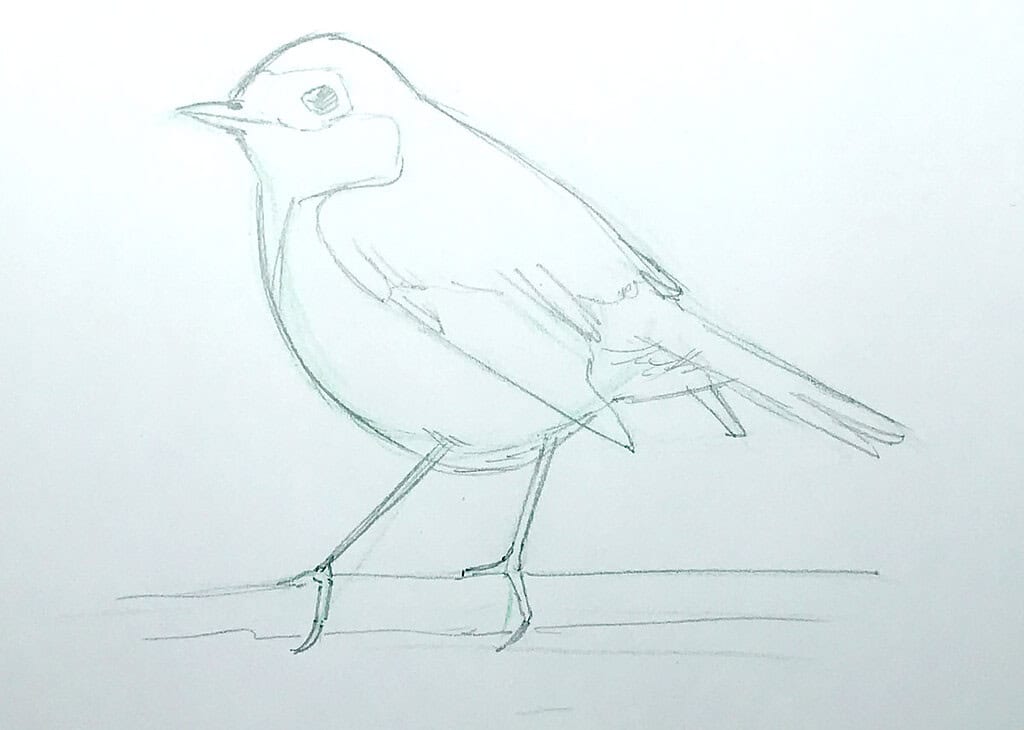
Keep looking at your subject more than on your paper. Observe the posture, the overall shape of the bird. Start refining your lines. You can use more pressure now or switch to another pencil – make decisive, broad strokes if possible. You want to block in the right proportions and larger feather groups. Don’t add details yet. Now my sketch looks like this:
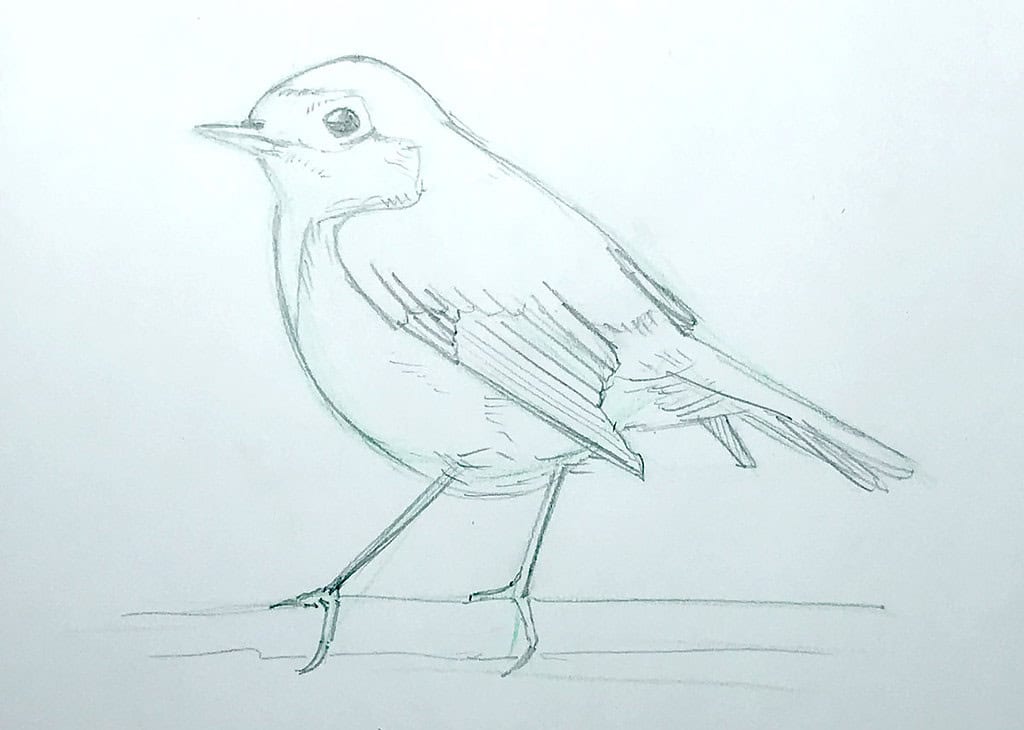
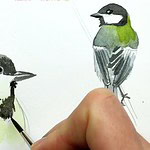
In this last step, you can refine your drawing. Only proceed to this step once you’ve gotten all the basics, especially the proportions right. By refining, I mean adding smaller details like feathers, more definition around the eyes, or adding angles around the contour. Now my drawing looks like this:
Here’s a short video that shows the entire process:
How to draw birds – quick step by step (video)
I offer a free a step by step guide (similar to this one) on bird drawing for everyone who follows my newsletter (sign up here).
To deepen what you’ve just learned, I have a number of free bird drawing tutorials on my Youtube channel in which I show how I draw and paint birds, feel free to take a look. Here’s the playlist.
If you want to dive in really deep and learn all the basics for sketching birds, anatomy, and painting techniques, then my class How to draw birds is the right thing for you.
A note about sketching birds in the field
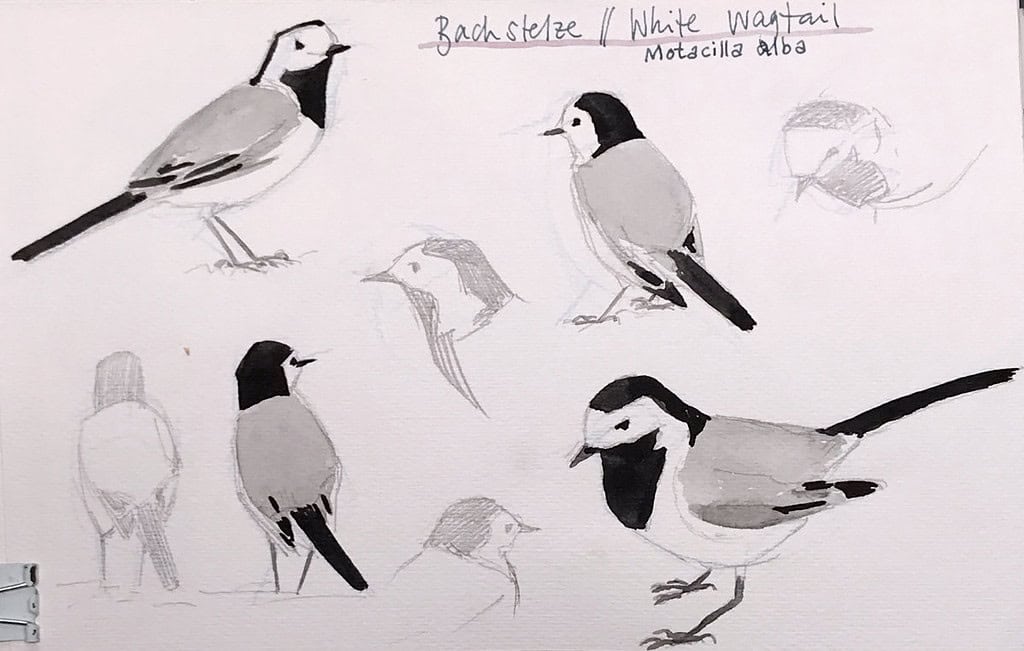
If you sketch in the field, your first few sketches will likely be rough and unfinished, and that’s ok. When a bird changes position, start a new sketch. Birds will often return to similar positions and that way you can come back to your unfinished sketches and add more detail. Continue to do sketch after sketch until you have filled your page completely and have an entire study sheet. These quick sketches are useful to capture the movement and shape of a bird (the “jizz”). You will notice that after a few sketches (or pages) it will get easier because you know the kind of lines you need to draw the bird in different positions. You can add color on site, or back at home. I often try to take at least one photo, or take extensive notes for the colors, and that helps me to add refinement to the bird poses and the color.
Above all: the birds come first. Do not disturb birds when you’re drawing, don’t approach them too closely, and avoid causing them stress or disturbing them in their daily activities. If you sit still for a little while, you will notice that some bird species are really inquisitive and will come close to investigate, others will simply accept you as part of the landscape and sit next to you and go about their daily business.
As you sketch more, you will learn more about each species, and this will in turn help you to identify birds in the field. All in all, sketching birds is rewarding and fun, and it will bring new sketching opportunities each day.
Resources:
– My 5-step guide for drawing birds available free for all newsletter subscribers (sign up here)
– Free Bird Drawing videos on Youtube
– How to draw birds online class
Great
“When a bird changes position, start a new sketch. Birds will often return to similar positions and that way you can come back to your unfinished sketches and add more detail.” This is the best advice. I’ve avoided drawing birds or any animal that changes position a lot–it’s too frustrating. But it never occurred to me that they often go back to very similar positions, and that I can then return to an earlier sketch and just keep going with it. Thank you. I love your blogs!
You’re welcome Linda!
Thank you Julia – lots of very useful information, especially for beginners like me. I really look forward to your posts and keep them all to refer back to.
Seasons Greeting’s!
Thank you Julia. The advice on sketching birds in the field is very helpful.